Getting Started
One URL. Paste it into Docusign once. Everything else is taken care of.
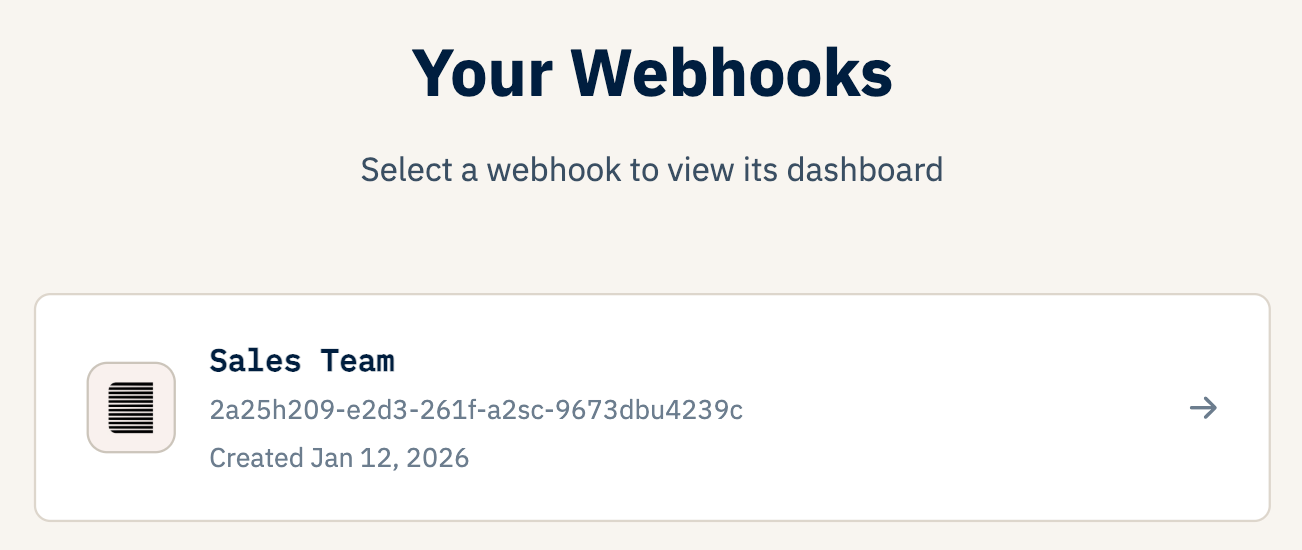
How It Works
Creating a webhook takes about thirty seconds. Sign up, give it a name, and Intercooler hands you a production-ready URL — no configuration, no infrastructure required.

From your dashboard, click Create New Webhook, enter a name for the connection, and choose your notification preferences. Your unique endpoint is generated immediately.
That URL is live the moment you create it. Every envelope event Docusign sends will be received, validated, stored, and made available in your analytics dashboard automatically — no code on your end.
Setting Up Docusign Connect
Connect your Docusign account to Intercooler in just a few steps. This is a one-time configuration.
Access Docusign Connect
Log into your Docusign Admin account. Navigate to Settings → Connect in the left sidebar. If you don't see Connect, contact Docusign support to enable it for your account.
Create a New Configuration
Click "Add Configuration" and select "Custom" as the connection type. Give it a name like "Intercooler" so you can find it later.
Enter Your Webhook URL
In the "URL to Publish" field, paste your Intercooler webhook URL. You'll find this in your dashboard after creating a webhook.
Select Trigger Events
Choose which envelope events should fire the webhook. For full analytics coverage, we recommend enabling at minimum:
Configure Data Options
Under "Envelope Events", enable the following for richer analytics data: Include Certificate of Completion · Include Envelope Custom Fields · Include Time Zone. Including documents is optional and will increase payload size.
Save and Activate
Review your settings and click "Save". Confirm the configuration shows as "Active" — Docusign will begin sending events to your Intercooler endpoint immediately.